Clematis vines can transform any garden with their stunning flowers, but they often get a reputation for being tricky. I’ve grown clematis for over a decade, and let me tell you, most failures come from simple mistakes—like planting too deep or pruning at the wrong time. This guide cuts through the noise. You’ll learn exactly how to plant, prune, and troubleshoot clematis, whether you’re a beginner or looking to refine your skills. By the end, you’ll have vines that bloom reliably season after season.
What You’ll Learn in This Guide
What is Clematis and Why Grow It?
Clematis is a genus of climbing vines known for their vibrant, often large flowers. They’re perennials, meaning they come back year after year, and they thrive in temperate climates. People love them for vertical interest—think covering fences, trellises, or arbors. But here’s a non-consensus point: many gardeners treat clematis as sun-loving plants only, but some varieties actually prefer partial shade. I’ve seen ‘Nelly Moser’ bloom beautifully on a north-facing wall where other vines would struggle.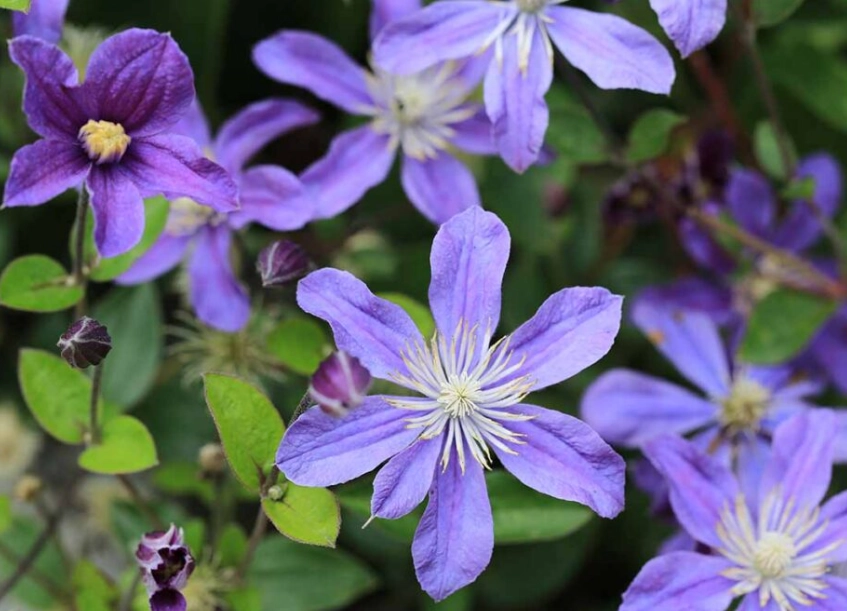
The appeal isn’t just visual. Clematis can attract pollinators like bees and butterflies, adding life to your garden. However, they’re not low-maintenance. If you neglect pruning or soil quality, you might end up with a leafy vine that never flowers. That’s why understanding their needs is key.
Personal note: My first clematis was a ‘Jackmanii’ that I planted in full sun with poor drainage. It survived but barely flowered. After moving it to a spot with morning sun and afternoon shade, plus adding compost, it exploded with purple blooms. Lesson learned—microclimate matters more than generic advice.
How to Plant Clematis for Success
Planting clematis correctly sets the foundation for healthy growth. Most failures happen here, so pay attention to details.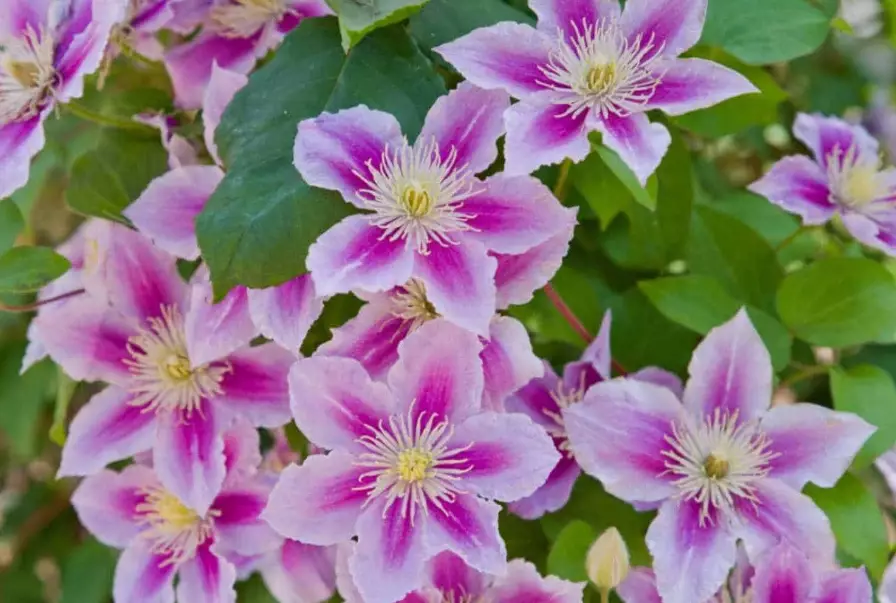
Choosing the Right Location
Clematis need “head in the sun, feet in the shade.” That’s an old saying, but it’s mostly true. The roots prefer cool, moist soil, while the vines want sunlight for flowering. Aim for at least 6 hours of sun daily, but in hot climates, afternoon shade can prevent scorching. Avoid windy spots—those delicate stems can break easily.
Soil Preparation and Planting Steps
Soil is critical. Clematis thrive in well-draining, slightly alkaline soil with a pH around 7.0. If your soil is acidic, add some lime. Here’s a step-by-step process I follow:
- Dig a hole twice as wide and deep as the root ball. Mix in compost or well-rotted manure—about a shovelful per plant.
- Plant deep. This is where many go wrong. Set the crown (where stems meet roots) 2-3 inches below soil level. It encourages strong root growth and helps prevent clematis wilt.
- Water thoroughly after planting, and mulch with bark or straw to keep roots cool. But keep mulch away from the stem to avoid rot.
- Provide support immediately. Use a trellis, wire, or obelisk. Clematis climb by twining leaf stalks, so give them something thin to grip.
Timing matters too. Plant in spring or fall when temperatures are mild. In my experience, fall planting gives roots time to establish before summer heat.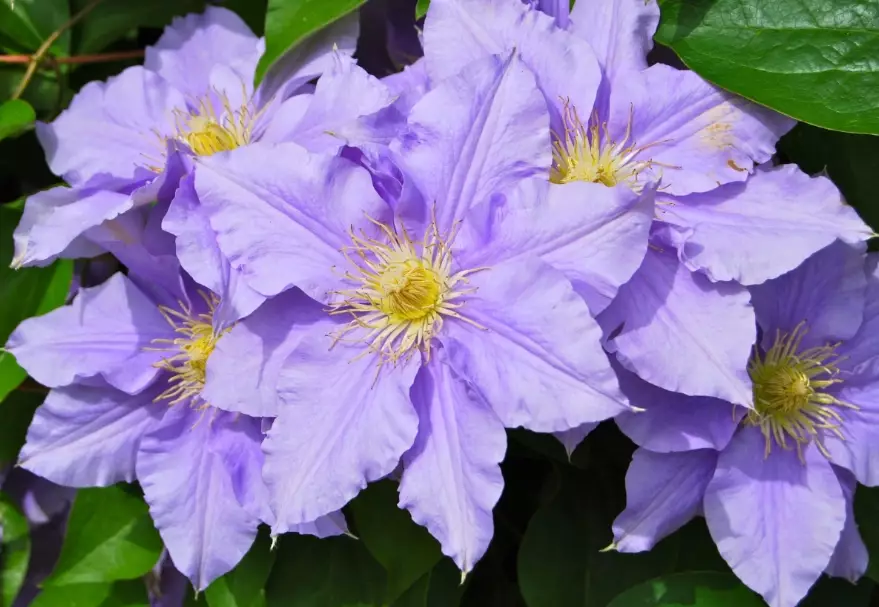
Understanding Clematis Pruning Groups
Pruning clematis confuses everyone. The secret is knowing which group your variety belongs to. There are three main groups, based on flowering time. Get this wrong, and you might cut off all the buds.
| Pruning Group | Flowering Time | How to Prune | Common Varieties |
|---|---|---|---|
| Group 1 | Early spring | Prune lightly after flowering, only to shape or remove dead wood. | ‘Armandii’, ‘Montana’ |
| Group 2 | Late spring to early summer, often reblooming | Prune in late winter or early spring, cutting back to strong buds, removing weak stems. | ‘Nelly Moser’, ‘Henryi’ |
| Group 3 | Summer to fall | Prune hard in late winter, cutting all stems back to 6-12 inches above ground. | ‘Jackmanii’, ‘Vitichella’ types |
I see gardeners panic and over-prune Group 2 varieties, thinking they’re helping. Actually, Group 2 needs a gentle touch—just tidy up last year’s growth. For Group 3, don’t be shy; cut them down hard, and they’ll reward you with vigorous new stems.
If you forget the group, check the plant tag or look up the variety online. The Royal Horticultural Society has a reliable database for reference.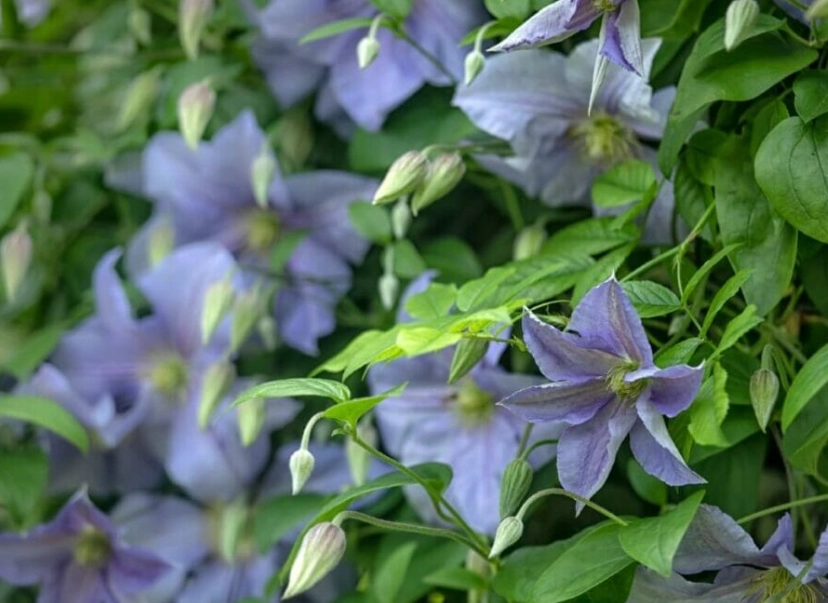
Common Clematis Problems and How to Fix Them
Even with good care, clematis can run into issues. Here are the big ones and practical solutions.
Clematis Wilt: This fungal disease causes sudden wilting and blackening of stems. It’s scary but often not fatal. Remove affected stems immediately, disinfect your pruners, and improve air circulation. Planting deep, as mentioned earlier, can help prevent it. I’ve had wilt strike a ‘The President’ vine; I cut it back, and it regrew from the base in a few weeks.
Poor Flowering: If your clematis isn’t blooming, check sunlight and nutrients. Too much nitrogen from fertilizers promotes leaves over flowers. Use a balanced, slow-release fertilizer in spring. Also, ensure you’re pruning correctly—wrong timing can remove flower buds.
Pests: Aphids and slugs might bother young shoots. A strong spray of water or organic insecticidal soap works for aphids. For slugs, beer traps or copper tape around the base can help. Birds sometimes peck at buds; netting might be necessary in early spring.
Root Rot: Caused by waterlogged soil. Ensure good drainage—add sand or grit to heavy clay soils. I learned this the hard way after losing a ‘Duchess of Edinburgh’ to soggy conditions during a rainy season.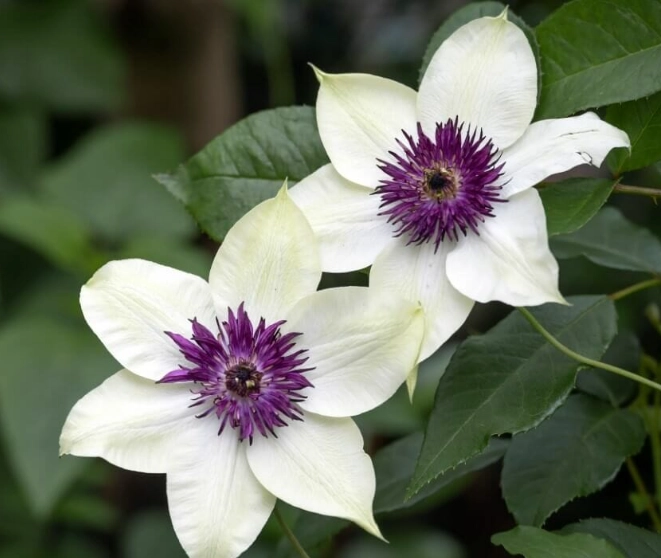
FAQ: Your Clematis Questions Answered
Growing clematis isn’t rocket science, but it does demand attention to detail. Start with the right variety for your climate, plant it deep, prune based on the group, and keep an eye out for common issues. I’ve seen gardens where clematis becomes the star—with flowers from spring to fall—simply by following these principles. Don’t be afraid to experiment; sometimes, a little neglect in the right spot works wonders. Happy gardening!
Reader Comments