Let's be clear from the start: growing tobacco plants (Nicotiana tabacum) is a fascinating, complex, and often misunderstood endeavor. It's not just about tossing seeds in the ground. Whether you're a curious gardener, a history buff interested in heirloom plants, or someone exploring self-sufficiency, this guide cuts through the noise. I've grown several varieties over the years, made plenty of mistakes, and learned what actually matters. Forget the dry, textbook advice. Here’s what you need to know, presented without the fluff.
What You'll Find in This Guide
Getting Started: The Critical Seed Stage
This is where most hopeful growers fail. Tobacco seeds are incredibly fine, like dust or finely ground pepper. The biggest mistake? Planting them too deep. They need light to germinate. Simply press them onto the surface of a sterile seed-starting mix. Don't cover them.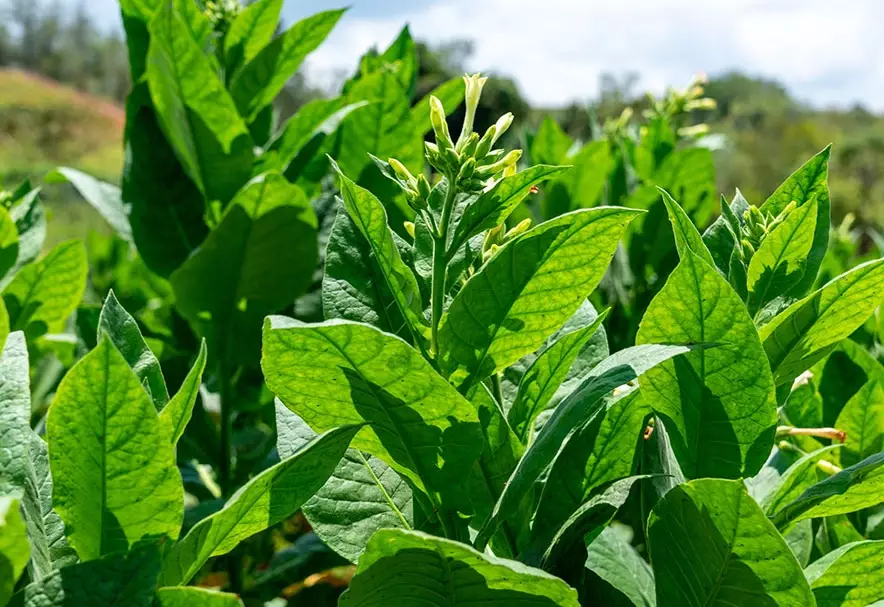
You need to start seeds indoors, 6-8 weeks before your last expected frost. I use a standard seedling tray with a clear plastic dome to maintain humidity. A heat mat underneath set to about 75-80°F (24-27°C) makes a huge difference in germination speed and rate. Keep the surface consistently moist using a spray bottle—a heavy watering will wash the tiny seeds away.
Once they sprout (which can take 5-14 days), remove the dome and get them under strong light—a south-facing window is rarely enough. I use basic LED shop lights kept just a few inches above the seedlings for 14-16 hours a day. This prevents them from becoming leggy and weak.
Transplanting and Ongoing Plant Care
When seedlings have 4-6 true leaves and all danger of frost has passed, it's time to harden them off. This means gradually exposing them to outdoor conditions over 7-10 days. A sudden move will shock and stunt them.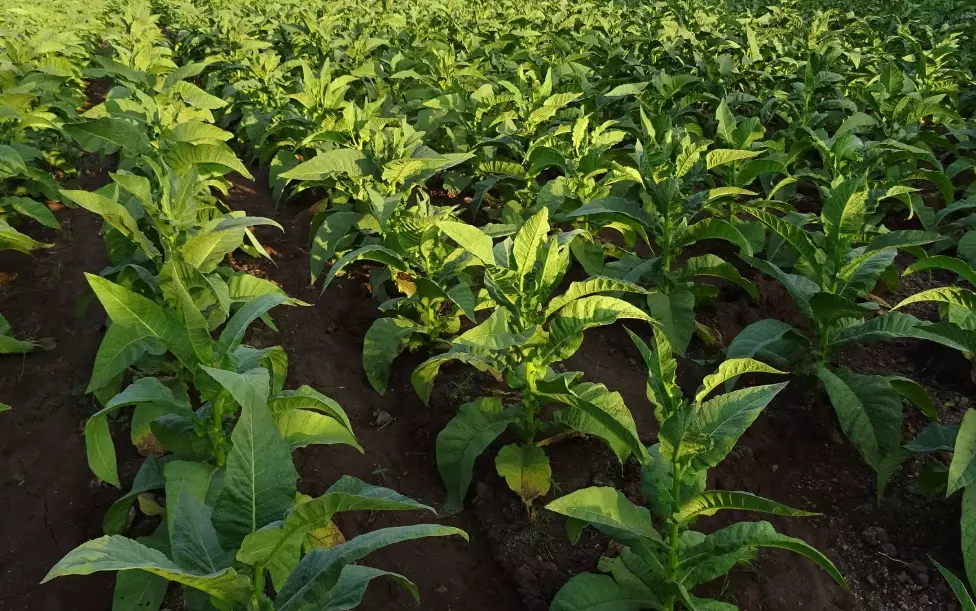
Soil and Spacing Requirements
Tobacco is a heavy feeder. It depletes soil nutrients rapidly. The ideal soil is well-draining but rich. I amend my garden beds with several inches of well-rotted compost and a balanced, slow-release organic fertilizer before planting.
Spacing is crucial for air circulation and leaf size. Crowded plants are an invitation for disease.
| Variety Type | Recommended Spacing | Key Reason |
|---|---|---|
| Broadleaf (e.g., Connecticut Broadleaf) | 24-30 inches apart | Large leaves need room to spread. |
| Burley Types | 18-24 inches apart | Promotes upright growth for air drying. |
| Oriental/Small Leaf | 12-18 inches apart | Plants are smaller, can be closer. |
Watering and Feeding
Consistent moisture is key, especially in the first month after transplanting. Aim for about 1-1.5 inches of water per week. Avoid overhead watering in the evening, as wet leaves overnight encourage fungal diseases. Drip irrigation or soaker hoses are ideal.
About 3-4 weeks after transplanting, I side-dress the plants with a nitrogen-rich fertilizer like blood meal or a compost tea. This fuels the explosive leaf growth phase. A second, lighter feeding a month later can be beneficial for larger varieties.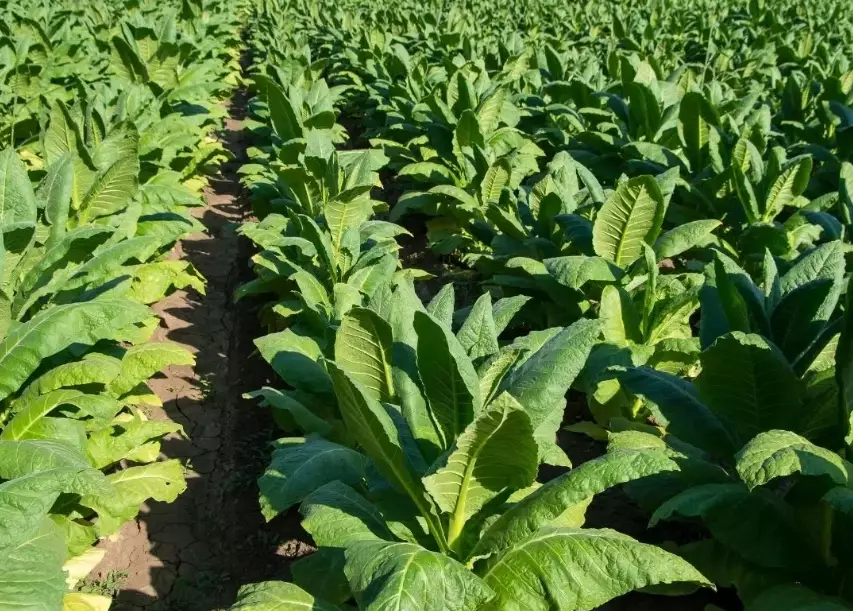
Dealing with Pests and Diseases
You are not the only one interested in your tobacco plants. Here’s the real-world pest lineup.
Hornworms: These are public enemy number one. Large, green caterpillars that can strip a plant overnight. Hand-picking is effective for small gardens. For larger plots, Bacillus thuringiensis (Bt) is an organic bacterial spray that works wonders. I check the undersides of leaves every few days.
Aphids: They cluster on new growth. A strong blast of water often dislodges them. For persistent problems, insecticidal soap spray is my go-to.
Fungal Diseases (Blue Mold, Damping Off): Prevention is everything. Good spacing, watering at the base, and avoiding working with plants when they are wet are the best defenses. If you see spotted, moldy leaves, remove them immediately and destroy them (don't compost).
One resource I trust for identifying and managing plant diseases is the American Phytopathological Society publications, which provide science-backed information.
Harvesting, Curing, and Processing Leaves
This is the most nuanced part, and where the magic (or disappointment) happens. Timing and method depend on your goal.
When and How to Harvest
Leaves don't all mature at once. They mature from the bottom up. The classic sign is a slight yellowing of the leaf and a change in texture—it becomes somewhat leathery and the "fuzziness" diminishes. The bottom leaves (sand lugs) are first, followed by the main middle leaves (cutters), and finally the top leaves (tips), which are the strongest in flavor and nicotine.
You have two main harvest methods:
Priming: This is what I do for most of my crop. You individually pick leaves as they ripen, starting from the bottom. It's labor-intensive but yields the highest quality for curing.
Stalk-Cutting: You cut the entire plant at the base when the majority of leaves are mature. It's faster but means some leaves will be under or over-ripe. This method is often used for burley tobacco that will be air-cured.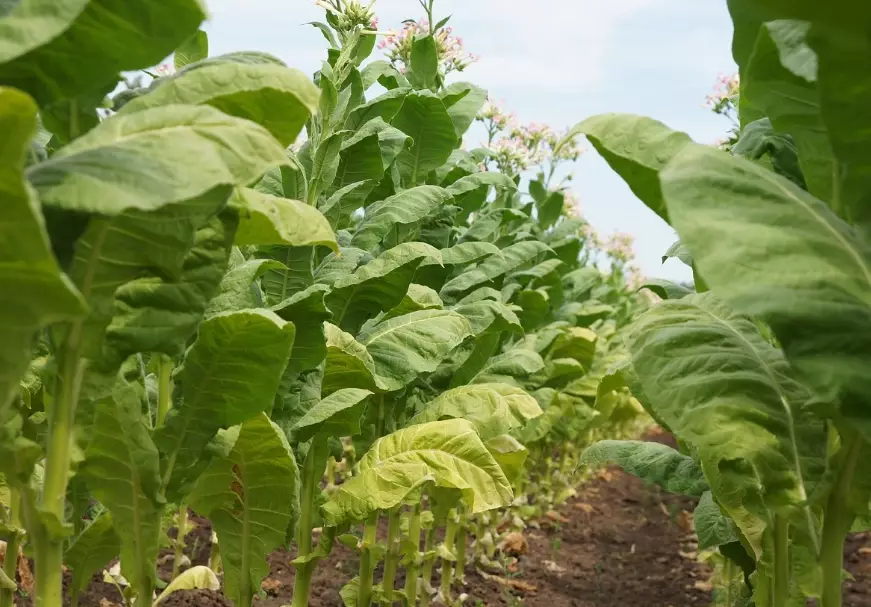
The Curing Process Demystified
Curing is not drying. It's a controlled biochemical process where starches convert to sugars, chlorophyll breaks down, and moisture is slowly removed. The method defines the tobacco's character.
- Air-Curing: Hanging leaves in a well-ventilated, shaded barn (60-70°F / 15-21°C, 60-70% humidity). Takes 4-8 weeks. Produces burley and cigar tobaccos.
- Flue-Curing: Using indirect heat to raise the temperature in a closed barn over a specific schedule (yellowing, leaf-drying, stem-drying). Takes about a week. Produces the bright, sweet tobacco used in cigarettes.
- Sun-Curing: Direct exposure to sunlight. Used for many Oriental varieties, resulting in a sharp, aromatic leaf.
After curing, the leaves are still brittle. They must go through a sweating or conditioning phase in a slightly humid environment to regain enough pliability for handling and storage. Only then is the leaf stable for long-term aging, which can mellow and improve flavor over months or years.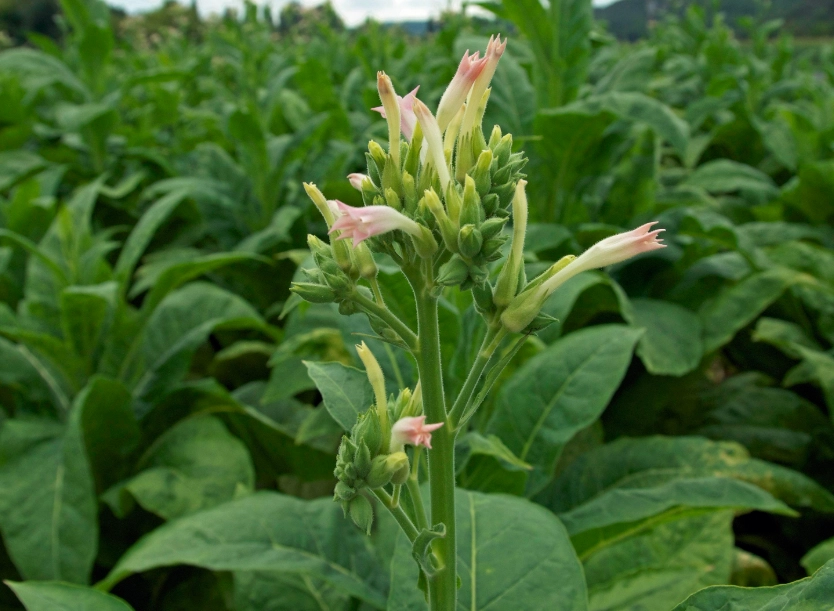
Answers to Your Specific Questions
Can I grow tobacco plants in containers on my patio?
You can, but manage your expectations. A tobacco plant has a large, extensive root system. To have any real success, you need a minimum of a 10-gallon container, and 15-20 gallons is better. Use a high-quality potting mix with added compost. Container plants dry out faster and need more frequent feeding. You'll likely get a smaller plant with fewer, smaller leaves compared to one in the ground.
How do I actually lower the nicotine content in the leaves I grow?
Most advice online is wrong. Simply harvesting leaves earlier doesn't significantly reduce nicotine—it just gives you under-cured, green-tasting leaf. Nicotine production is tied to the plant's genetics and root system health. If you want lower nicotine, choose a variety bred for that purpose, like some heirloom Nicotiana rustica strains or specific ornamental types. Stressing the plant with poor soil or inconsistent water might reduce yield and quality more than it reliably lowers nicotine.
Is it legal for me to grow tobacco at home for personal use?
In the United States, federal law allows you to grow tobacco for personal use. However, you cannot sell it without a license and paying applicable taxes. Some states or local municipalities may have additional restrictions or zoning laws, so it's your responsibility to check. The Alcohol and Tobacco Tax and Trade Bureau (TTB) is the federal authority on this. In other countries, laws vary drastically—in some places, it's completely illegal to grow without a government permit.
What's the single biggest mistake new growers make after curing?
They try to use the leaves immediately after they are dry. Cured leaf is like stiff cardboard—it will crumble if you try to handle it. You must condition it. Place the brittle leaves in a sealed plastic tub (like a storage tote) for a few days, checking daily. The moisture will equalize, making the leaf pliable. If it gets too wet, open the lid; if still too dry, add a slightly damp towel (not touching the leaves) to the tub. This step is what makes the leaf usable for rolling or further processing.
Reader Comments